Sunday, December 4, 2011

Goodbye Portland, Hello Phoenix

My husband and I always talked about moving "some place sunny" eventually. In fact, we talked about this even before being engaged. He loves the sun and I get tired of the dreary rain. We talked about Phoenix because he spent time in that area while he was in the military and loved it. Both of us were born in and spent our early childhood in Portland, eventually moving to Gresham. 
As much as we talked and wished to move, I honestly never thought it would actually happen. So, when he applied for a job in Phoenix,  I was a bit surprised that a week later he was on a plane to The Valley of the Sun for an interview. I didn't think he'd get the job - not because I don't believe in him. I just did not think we would really ever pick up and move.  
I was proved wrong. 
He called me mid afternoon that same to tell me they offered him a position, he accept the offer, he was moving in two weeks. 
My mind was filled with thoughts. Yay, sun year round! New adventures! A new city to explore!! Then reality set in. I have to tell my parents I'm moving. How am I going to tell my best friend? Crap, I gotta look for a new job! Greaaaaat, I'm left behind to pack up the house and decide what to sell and what to keep.
It was the scariest and most exciting news I've ever received. I imagine it's a bit like finding out you're pregnant: You're excited, yet your life as you know it is about to change (and you pray it's for the better).
I stayed behind for two months for a several reasons. The first reason is we had one month left on our lease; I was not going to pay the enormous lease-break fees for one month. Two, I wanted to give my employer enough time to interview, hire, train, and get the new employee comfortable. Three, I could really use as much paycheck as I can get! And last, I wanted to spend as much time with loved ones as humanly possible - I wanted to spend so much time with them that they would be begging me to leave! 
The month's of June and July were quite a blur. I worked full time, so my evenings were spent filling boxes. One set of boxes for a garage sale, then next set of boxes for belongings to keep. That left my weekends open for, yup, more packing! I gotta say, of all the activities on earth, packing and moving are my least favorite. You get to the point where you just want to get rid of everything and start over. But, then you realize that's really not practical so you suck it up and pack more boxes. 
My dad, Christie, and Gavin were my saviors. All three of them have full time jobs as well, yet they still came over after work and some weekends to help. Without them, I really would not have been ready to move out by the end of June. 
July was only slightly less stressful than June. I moved in to the spare room in my mothers house. My evenings were now free, but my weekend were filled with organizing and pricing all the items of our life for a garage sale. By that point, I was ready to give all that crap away. But, I was very thankful for the help of my stepmother and some family who donated their precious weekend time. 
After the move and the garage sale, I had three whole weeks of left of July to spend with family and friends. I spent so much time at Christie and Gavin's house I was afraid they were going to ask for rent. I tried to do some touristy stuff around town, I ate at all my favorite restaurants that I knew Phoenix did not have, I tried to keep my social calendar fairly full. I knew if I had to much time to myself I would talk myself out of the move....


View from Marine Drive heading east
One of my last Saturdays in town I ventured out to Vancouver to visit my looooong time friend, Beth. We got some coffee and walked around the waterfront on the Vancouver side. It was so great catching up with her one last time before I left. On my way back to Gresham, I was feeling really sad. I've known Beth since freshman year of high school; aside from family, she's one of my oldest friends. As I was driving, I told myself to suck it up and be grateful for having an amazing friend for so long. That quick change of attitude had me realizing I probably wouldn't get to see the gorgeous view of the Columbia and Mt. Hood before I left. So I snapped a few pictures with my cell phone. 


Another view, further up river
The sunny sky, the water, and the alluring view of Mt Hood was all I needed to perk back up!


My jeep, Washed, waxed, and ready to go!


My dad and I got my Jeep washed and mounted the night before we left. Why, you ask? Because he wanted to hit the road at 5am (!!). 
After a tearful goodbye to my best friend of about 20 years - yes, twenty - and even more crying saying good by to my mom, my dad and I left. I was so emotionally exhausted after that last week in town. Saying all those goodbyes just about killed me. 
I had to tell myself that Phoenix is only a two hour plane ride, people love to visit that part of the US due to all the sun, and it's not like I was moving over seas - I would see them all again soon.
My dad was in charge of navigating because I have never taken on a road trip of this kind before. He wanted to drive over Mt Hood, through Klamath Falls to Susanville, CA, then down to Las Vegas, and finally Phoenix. He had recently made that same drive when he sold his truck. I figured we would take I-5 down to I-10 then head east. But he said his way was much more scenic, and I knew I could use the beautiful distraction for the journey.

My dad driving with the sun rising

My dad drove first over Mt Hood. We traded places in Bend. I tried to not wallow in my sadness and focus on all the trees and sights driving over the mountain had to offer. Again, I told myself that I was leaving, but not forever.

The summit peaking over the hills

I always loved the drive between SkiBowl and Mt Hood Meadows.  It's pretty cool to get closer and closer to the summit and watch it peak through the hills at different turns.


Would you believe I've never been to Kah Nee Ta? I've heard very good things about it though!


Beautiful view of Mt Jefferson!


Me trying to get creative with camera angles. Worked out fairly well.
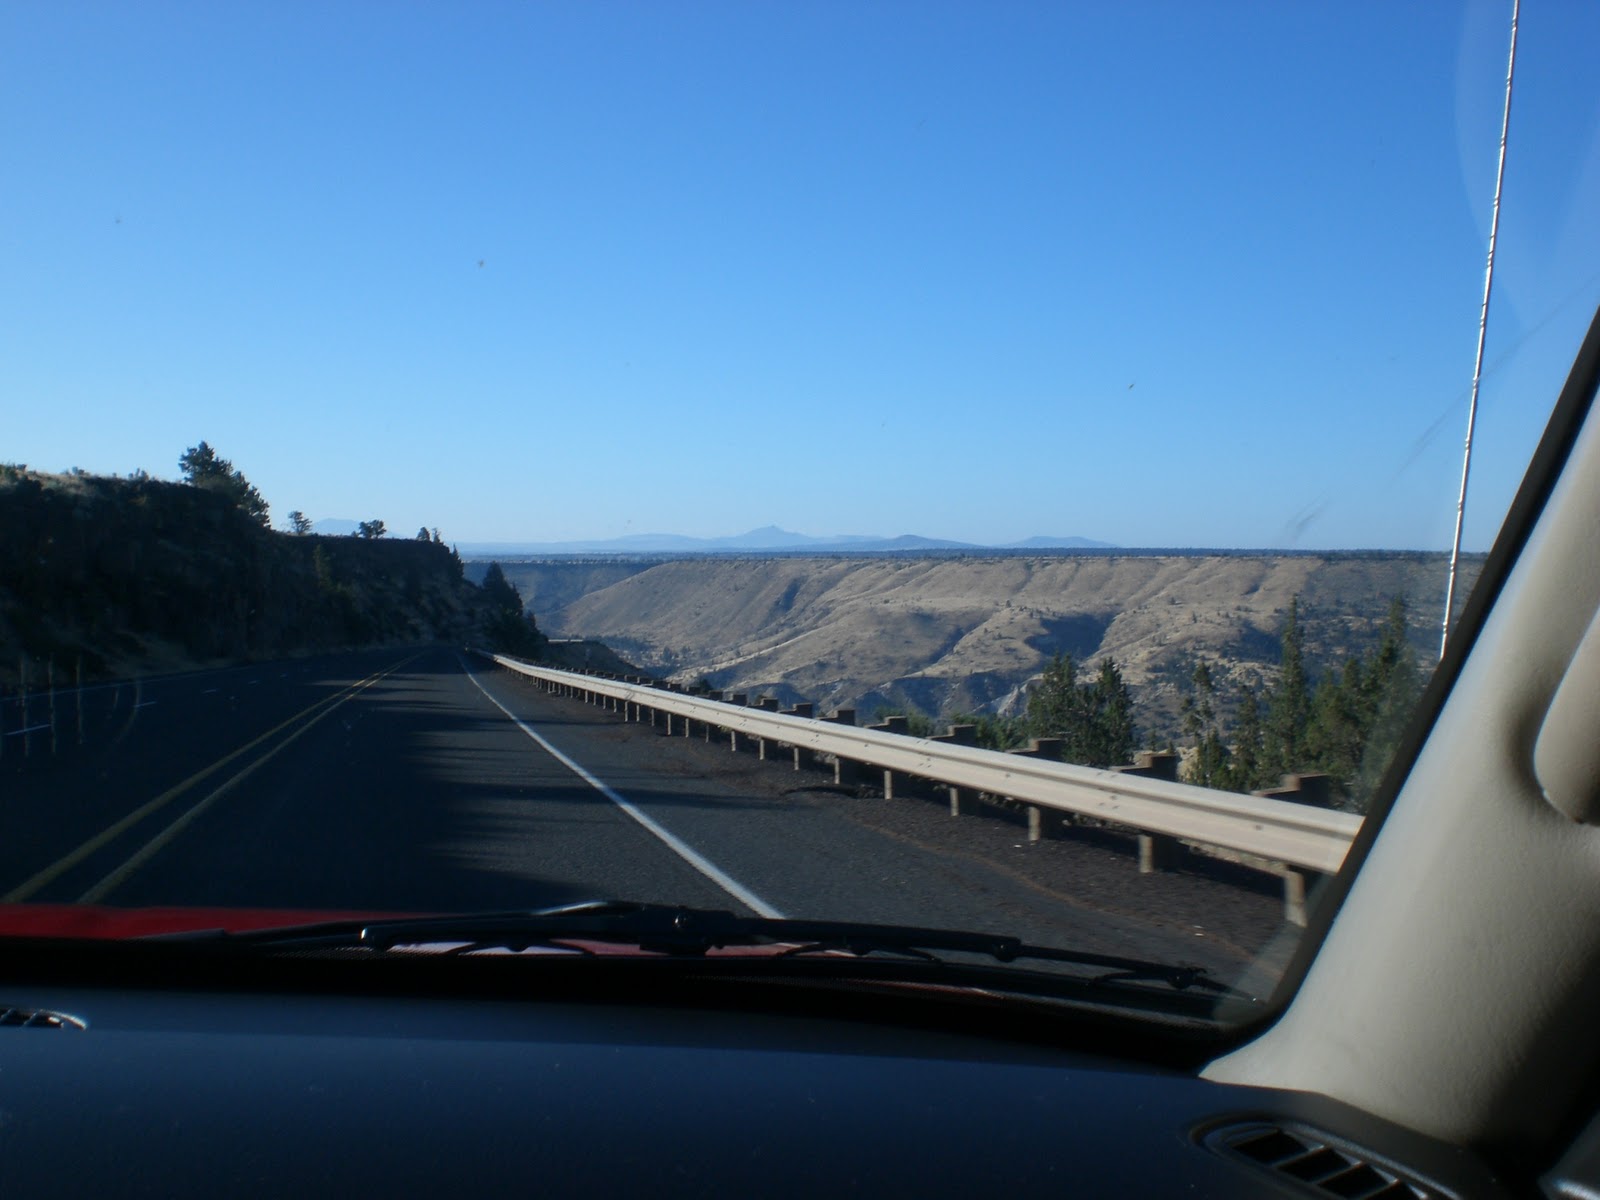


Dropping down in to the Bend area. I was getting pretty antsy at this point. I wanted - scratch that, I needed to get out of the car and stretch my legs and walk around for a few. My dad didn't take it as a very good sign that I couldn't ride from Gresham to Bend without going stir crazy. 
I can't read or play on my phone while being a passenger in a car without getting car sick. I can read for a few minutes, but then I start to feel nauseous and have to look away. It gets annoying to read for five minutes, stare out the window for five minutes to feel stable again, then read, then stare...... It's pointless. Usually long car rides put me to sleep. The low hum of road noise, the smooth ride, and being in a chair that can recline usually makes me pass out cold. 
When Josh got out of the military he asked me to drive with him from Mountain Home, Idaho to Gresham "to keep him company". I was wide awake until we got to Baker City and didn't wake up until Cascade Locks. He wasn't impressed. 


Excellent picture of the Three Sisters mountain range. I did a little research about the mountains and I found the names of the "sisters": Faith, Hope, and Charity. Not sure who named them, and I'm even less sure as to why, but it's an interesting bit of trivia.


Last stop in Oregon was Klamath Falls. We fueled up at the Fred Meyer and I decided to have a look around Freddy's since Phoenix doesn't have any stores remotely like them. It's not like I'm an obsessed FM stalker, I think they tend to be a bit over priced, but there's no denying it's handy to do some grocery shopping, pick up a new DVD, then linger in the clothing and shoe area. 
I meant to stop at the Leaving Oregon sign, but I swear there wasn't one! I was driving, so one would assume I should easily see it coming up in the distance. I even told my dad to keep an eye out so we could pull over. But, alas, no sign. Oh there was a stupid Entering California sign. But none for Oregon.
So we continued on.......

Saturday, December 3, 2011

My To-Craft List

The dreaded To-Craft List.... From reading other blog sites, I'm comforted to know I'm not alone in my never ending quest to DIY what ever I can get my hands on.
My To-Craft list is long and all over the craft board. Sewing? Check. Scrapbooking? Check. Knitting? Uh-huh. Needlepoint/embroidery? That's affirmative. Card making? Definitely. You get the picture. 
In my recent move to Phoenix, AZ (you can read more about that here), I came across a treasure trove of crafts I did not forget I had to complete; more like I didn't make the time, it's more complicated than I envisioned, et cetera. 
Below you'll find my agenda, which is in no particular order.

Sewing patterns
My sewing machine and thread
Close up view

I've never sewn anything outside of home-ec in middle school (!!!), but I enjoyed it and it is a useful skill. A Christmas or two ago my mom and aunt bought me this machine and kit of all different colors of thread and a few other sewing essentials. Along with a gift card to JoAnn's, which his how I acquired the above patterns.... That have yet to be even opened. 
Scrubs are fairly simple (a few of the girls I worked with made their own and I wouldn't have known unless they told me). And I thought the shirt was kinda cute. Aaaaaand the packaging states "it's so easy". They saw me coming a mile away....

Hand-me-down kit

The needle crafts above were given to me by my mother. She bought them with the intent of completing it, but never did (obviously). So now I know who to blame for my problem! I kid, I kid.
While the patterns are very pretty, my will to complete the task is diminished by the dated images. I only know two people who would display the craft once I complete it: My mother and my grandmother. My mom simply because I did it. My Grams because she is almost completely blind, but would tell me it looks beautiful anyway.
Felt Christmas ornaments

Ahhhh, who doesn't adore a good Christmas craft? My Christmas trees and decorations growing up never had a theme necessarily. Certainly nothing as extravagant as you see in department stores. Which has always been perfectly fine by me. Department stores - in fact - stores in general commercialize "The Holidays" instead of conveying what this time of year is about. Which, to me, is about celebrating family and friends. NOT, I repeat, NOT about costly presents (new car anyone??) and the fad gift of the year (tickle-me-Elmo, perhaps?). But, I digress. This is not the forum for such rants.
Our Christmas decorations usually always had a story behind them about how they were acquired or what significance they held. Our trees always looked like a 
smörgåsbord of color and character. Which is what made me purchase the above items. I am proud to say I've made one so far. Yes, uno. These ornaments fall under the "I didn't realize this would be so complicated" category. 
Half completed Latch Hook


My mother is absolutely smitten with lighthouses. Always has been; and I'm not exactly sure why. Maybe it's the history they posses. Maybe she's comforted by the light that bring ships home safely. Maybe it's not that deep and she just thinks they're cool. 
I found a ceramic lighthouse kit once that came with the paint and paint brush, all you had to do was paint it and my mother loved it. So when I saw this, I thought it'd be a quick and simple project. While it is (supposed to be) quick, and it is simple, it still has yet to be completed.
Although, I do deserve a little credit since it's thisclose to being done now! No points unit it's marked off the list though!

Glue and glass stones
Team images

Completed!

I saw in a craft magazine how easy it is to make and personalize your own magnets. I thought the idea was great, easy, and fun. So when I bought all the supplies I needed, I was ecstatic to find out that this was as fun as I thought it would be! I bought a few Duck and Beaver templates (since they are not the official logo's, I don't have to worry about copyright infringement) and put them together (I plan on posting a tutorial in the near future). I completed this venture! And, since it was so easy, I decided to make more with different images.... that has yet to be finished.Side note: I apologize for a quality of the last two photos. No matter how hard Mr. Jobs (RIP) has worked on the IPhone, pics still appear blurry on occasion.
Bottle cap craft

The bottle caps are also intended to be made in to magnets (not sure why I was on a magnet kick). I had also seen this in a magazine and enjoyed the idea. The bottle caps are easy to come by (my husband and his friends indulge on occasion), so free. Also, I already had the Mod Podge (kick-ass stuff) and magnets. I saw the mermaid template on sale for dirt cheap - which equals BUY. I made one (again, reveling in how simple they were), but making ONE does not mean DONE.
I sure did

A few years back, my best friends sister (really, she's like my own sister I've known and loved her for so long) invited us to a knitting party. I'd never done it before and wasn't necessarily interested in learning (I'm not 80 years-old). But I went anyway because that's what "family" does! We had lots of fun and learning was easier than I thought. My casting on and off could use some work, but I can knit and pearl with the best of 'em. I can make you a scarf in any color you want. Pot holders and matching trivets, anyone? That's pretty much the extent of my skills.
Knitting can be virtually any where at any time. Which makes it perfect to quickly complete a project. My only issue with knitting is I have severe tendinitis in both wrists. So, after a day filled with typing, and the twisting, pulling, and maneuvering involved in patient care, I'm usually in a lot of pain at the end of the day. The last thing I want to do, or need to do, is aggravate the condition further by knitting.
Thankfully, knitting is like riding a bike. After putting the sticks down for a while, I can pick it back up in no time.
Tissue paper

I saw on a craft blog a while ago how to make tissue paper flowers. Of course, the professionals made the flowers look almost life-like. How hard could it be? I love the look of real flowers, but we have a cat. I'm always worried she's going to eat them a get sick. Or, she'll knock them over and break the vase - then I'm worried she'll cut herself on the glass while we're away at work (Yes, I'm that pet owner). So, the simplest answer is tissue paper flowers. Which have yet to be done. 
Collection of wedding related scrapbooking items

Once my husband and I got engaged, I had collected carious wedding related items to use to make a scrapbook of the eventual wedding. If something was too beautiful to pass up and was priced right, I'd buy it and store it. It worked out well when many of our friends were having weddings of their own and I could use various pieces.
We were married July 4th, 2011. As you can see, I haven't started it yet. BUT, this isn't entirely my fault! I still haven't gotten our photo's from our photographer (trust me, I'm bugging him). I manged to snap a few great pics with my camera so I've started a mini book (bottom right you can see the cover).
Generic scrapbook and kit

When my parent's were married, they did a lot of camping and 4-wheeling. My father was in a 4-wheel drive club, so many weekends (regardless of the season) was spent out with friends snapping pictures. My mother isn't really the scrapbooking type (and my father certainly isn't either), so they have photos that just piled up in a drawer or shoe box. At some point, my mother found the box of photos and gave to me to give to my dad. But, I had a much better idea. I wanted to take the good pics and make a scrapbook for him. At one of Craft Warehouses' sidewalk sales, I found the green and brown album with the accompanying embellishments for $5. That's a great deal; especially since it's not overly girly, perfect for a dad.
This is just unfortunately another project that has been halfway started, but not finished. 


I still have many more projects to start and finish that I did not list here. I think the above are enough examples. It's a little like admitting to being a hoarder: I feel like the A&E camera crew just showed up and I have a strong urge to purge myself of some belongings. Or AA: Hi, I'm Jessica and I'm a CraftAholic.
I almost abandoned this blog because I just never made the time to work on it. Same goes with the above projects. But, I did some thinking and realized it's not that I don't have the time, I don't make the time. I did a little research and found that many craft bloggers have multiple do-to projects and a few projects they're in the middle of. They have journals to hold ideas, multiple drafts to publish, and so on. I would also start a project - specifically with the intent to blog it - and I would forget to take pictures! 
So, there you have it. This is my large To-Do list! Are there any projects you want to start and finish, but cannot seem to make the time? Do share and help a sistah feel better!

Thursday, December 1, 2011

Ceramic owl

I discovered a cute little pottery place called As You Wish. They have a HUGE wall of assorted pottery pieces to pick from, then you paint it, and they fire it. Not only do they have a huge variety of ceramic pieces (plates, coffee mugs, piggy banks, different animals, the list goes on), but they have a wonderful paint selection in all colors. Matte paint, glossy, a pseudosparkle-type paint, and - my personal fav - puff paint!
I only took a pottery/ceramics class once. It was through the City of Troutdale back in, oh my, 2006 or 2007. Many moons ago! It was fun, and I always wanted to try it again. I also REALLY wanted to get out of the house and explore Phoenix a little bit, so this place was perfect. 

Once there, I was very much overwhelmed by all the pottery options.... Should I make a big serving plate (I don't have any and it would be fun to make my own)?, or perhaps a coffee mug to curl up with in the morning (because I don't have enough of those already)? I decided on this charming little owl.

Ceramic owl
When I saw that tiny face and big eyes, I fell in love! 
The girl working showed me all the point options and the best techniques. Light paint paint first, then darkest. I knew I wanted his (Her? I still haven't decided.) main color to be brown, so I had to make the rest of him as colorful as possible.  

Front view
I pictured bright glowing eyes. Every owl I've seen in the wild has had beautiful eyes. They are known for their great sight after all!
Next, it was time for his "feathers". Again, I needed colors that would pop against the deep brown. I chose a red-orange color for his body feathers and a medium purple for his wing feathers. His head begged to be a different color, and the girl as nice enough to explain to me how to "fade colors".

My sad attempt at "blending"
The idea was to paint one color, then while the first coat is still wet, paint the next color, and while that coat is still wet use the first color again, and so on. I understood the idea, I just had a little trouble putting it to use! Once the paint hits the pottery, it dries almost immediately. Next time, I'll work in smaller sections.


My finished attempt at blending. 

Finished before firing
The whole owl needed three coats of paint. The more layers of paint, the richer the color. 
They also have paint pens to use on your creation after painting is done and before it's fired. I decided to use black to make his eyes stand out a little more. I outlined his feet, the yellow and green in his eyes, then I colored in his pupils. I decided to add the black lines to define the green.... He was kinda creepy looking without it, personally.
Oh, I also had to give him eyebrows. My hand slipped while outlining his eye right eye - it's not like you can white-out the mistake! 

Finished rear view before firing
Inspection before firing. 


You can't inspect your work too many times...

DONE!
And here he is all finished!


I obviously missed a spot or two on him and my blending leaves something to be desired, but hey, it's only my second time. I think he's adorable! 
I can't wait to go back and paint other things! Not only do they have a massive in-house selection, but they have a catalog to order from.
My head is already filling with things to paint next!

Sunday, March 6, 2011

Desk Makeover!

Here it is. My craft desk. A little crowded, ehe??


I could never find anything, and something was always buried under something else. I couldn't leave stuff on the floor or the cat would attack it. It really wasn't the best place to feel inspired and creative.
The drawers in the desk are packed as is the craft cart next to it. Getting rid of the stuff was not an option!!
I always knew I wanted shelves to go on the wall above the desk, but I could never find one's I liked. They were either the wrong color, size, or price. I finally asked my dad if he could whip some up for me. He was happy to take on the challenge!!

Sooo much stuff....


Here is the desk completely empty. It's HUGE! That's why it was so frustrating to not have any room.


I was SO excited to get them up!! I think it was all I could talk about for a few days. The girls at work probably thought I was crazy because I was ecstatic to get shelving!
And my poor dad wakes up at 4am every morning to be at work by 5:30am just to work an eight hour day. He came over when I was off of work and spent his evening putting them up. I was very grateful!


Measuring
My dad hard at work!
Here is the final product! Not too shabby!
The great thing is we can take them with us when we finally move in to a house.

Look how close to perfectly level that is! I told my dad what a great job he did on that and his response was "It could have been better". He's a perfectionist.

Josh helped me pick the brackets from Lowes. The problem with custom size shelves is it's difficult to find brackets that will fit. The shelves only come out from the wall about 6 inches. Most brackets we found would have been longer than the shelves. My dad had to mount them upside down to fit. It works well though.

Now, the final product! A place for everything and everything in its place is my motto when it comes to my craft area. I love being able to see what I have, how much of it I have left, and where it is!
I LOVE to organize! If we had more space in our apartment, I would be rearranging all the time. This worries my husband as he usually can't find anything as it is. :)

I like to reuse old jars to hold my various craft items instead of spending money on them. The tall jars hold some rubber stamps. The little jars have random embellishments in them. I bought them at Ikea for about $3 on sale!


Paintbrushes... Obviously :)
I'm on the look out for another way to store them. My cat gets up there in the middle of the night and likes to eat my brushes. Little jerk! ;)

This is not part of my desk, but I wanted to share it. I found it at Pier 1 on sale after Christmas. I'm always thinking of ways to keep the room fun and try to get my creative juices going. Since we rent an apartment, our options are limited. Above my desk I have post cards I have collected (well, post cards people got me on their travels), pics of my friends, old family pics, and various other pictures I find pretty.

I'm so relieved to have a place to sprawllll out and use effectively! I still have room on the shelves to rearrange and add more if I need to. I actually enjoy going in that room again. For a while it just made me sad to see the mess of stuff I had - and in some cases forgot I had!
Last night I sat at my newly organized and just pondered all the new things I'm going to make!
What do you think? Can you see where I could move some things around to use the space better? What does your craft room/area look like? :)

Wednesday, August 18, 2010

Girl's Night Out Invitations

I saw the idea for these invitations in one of the MANY diy wedding books I bought. I loved the stuff in the middle - and the great thing is you can change the theme to fit the occasion! The invitations in the book were save-the-dates for a beach themed wedding. So the middle had sand and a starfish.... sooooo cute!
I knew I had to attempt to make these and I thought the perfect time would be for my friends birthday party. I had some Zebra print with pink invitations left over from another friends bachelorette party, I loved the Zebra, but I didn't need the middle. Then it hit me, cut out the middle and make the confetti invites! The supplies are really quite simple. I used a light pink for the back (cut 6"x8"). A medium dark purple for the invitation wording (cut 5.25"x7.5"). The Zebra invitation with the window came in 5"x7". The window dimensions are 1"x0.5". The transparency paper is cut to 4.5"x6". The hardest part was scaling the rest of the invitation to the zebra print. The invitations in the book were 4.5"x5.5".... Mine were much bigger due to the Zebra print.
Non-paper supplies are double-stick tape, double-sided foam adhesive strips, fun stuff for the middle, and cutting utensils.

Here is what Zebra invitation looked like at first.


Then I cut out the middle. I started to cut the middle out with a craft knife, but the blade was getting a little dull and I'm not confident in my cutting straight skills. Also, since I wasn't using the middle this time, I figure why not use it again another time! I used the craft knife to start the cut then I finished with scissors.


After I got all those cut out, I set them aside and moved on to the back. It's hard to tell what kind of pink I used, but it's light floral pink. This piece has to be about an inch or so bigger than the zebra print because the invitation is going to be layered. After I got those cut out, I cut the purple paper. Again, slightly smaller than the pink paper.

Once the pink and purple papers are cut, adhere them together with the double stick tape and set aside.

I set the window card on the purple paper BEFORE putting the translucent sheet on so I knew how much room I had to work with so I didn't cut off the writing. I'm proud I thought of that before I messed up :)


After that was done, I glued the translucent paper to the back of the zebra print card. A little glue is fine to the get translucent paper to stick well enough before you put the double-side foam tape on.
While still working on the back of the window card, set the double-side foam tape. *NOTE* If there are any gaps, then the inclusions could fall out!!!
Once the foam is placed, and your confident there are no gaps, remove the protective lining from both sides and the bottom - but leave the top piece. This will allow you to secure the window card in place, and pour in your inclusions.
Once the window frame is firmly in place, and the top is still open, insert the confetti (this is what I used). This is a situation where a little goes a looooong way. Trust me!


Now, remove the top protective lining and press the frame firmly in place. And you're done!!!

I tried to leave a little room at the bottom of the invite to allow room for the confetti to settle while still being able to read the words.
I am a little disappointed that the translucent paper I have really isn't all that translucent. The paper is marked translucent on the cover!! So, I'm on the look out for truly see-through "paper". I already have a few scrapbooking ideas in mind to use a technique like this!

I tried to explain this step-by-step as best I could. But, I'm happy to clarify a step if needed. It is my first official blog post after all :)

Wednesday, August 11, 2010

Too long

Oh my. I started this blog over a month ago and I haven't. Made. One. Post. Very disappointed with myself!
I even started a post within the first week of stating this, but I didn't finish it. I have since forgotten what I was going to post!
Well, I'm going to start to change that. I have a friends birthday coming up and I'm going to help plan a little something. The best part?? I'm making the invitations!! Thankfully it's going to be a small girls night out. But since it's a girl I work with, I don't know all her friends. Plus, I would like to keep the plan somewhat of a surprise for her.
So I plan on blogging about how I made the invitations. I just realized I'm making a blog about a blog I plan to make... Lol. I guess that will keep me motivated.
Well, I'm off to look up ideas :)